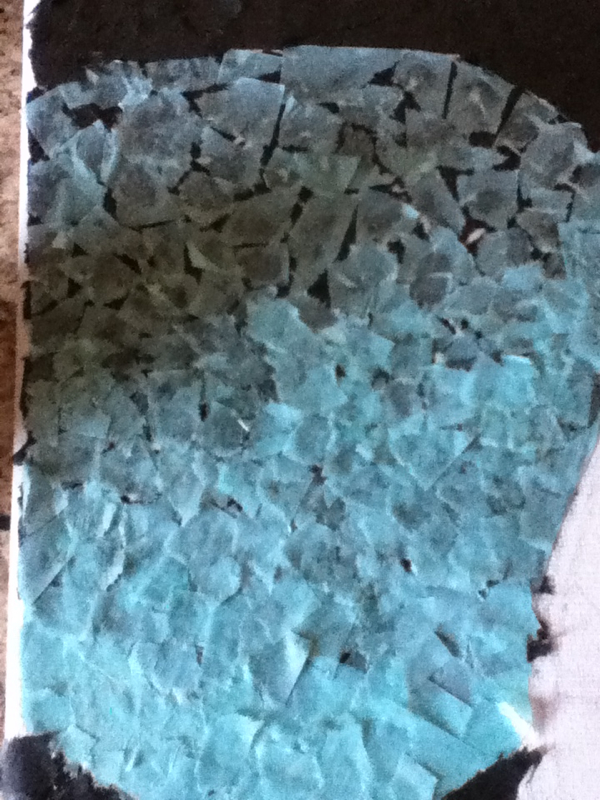
I have started to add the tissue paper to the pot/vessel. At the top of the picture, i added a layer of black tissue paper (spread apart so they are not overlapping) and then added the blue tissue paper, also spread apart so the black tissue paper underneath is visible.
The next part also contains a black underneath, however, the blue tissue paper is overlapping so that the black tissue paper underneath is not visible.
The third and last part contains only blue tissue paper, (with no black underneath). I had to use at least 4-6 layers of the blue tissue paper to get this effect.

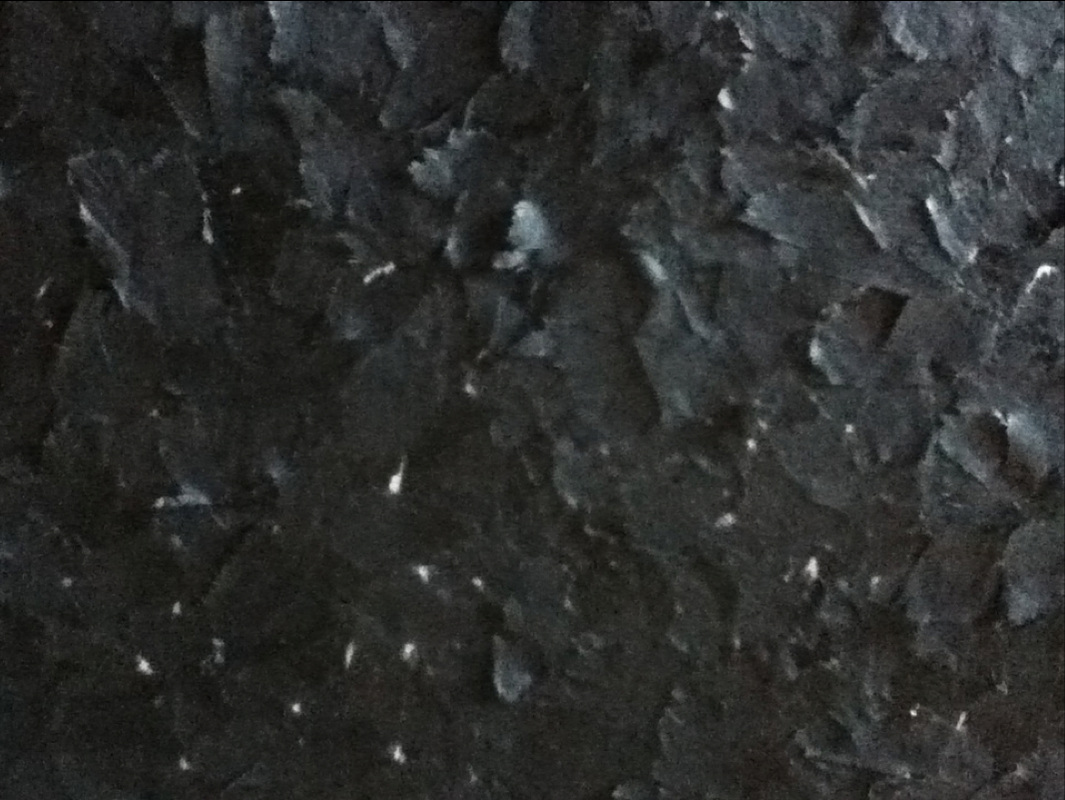
After completing the pot i started on the background of the canvas. For this I ripped the black tissue paper (just like in the first two pictures), so the pieces are not straight and square, it provides a different effect than I am used to seeing on most mosaics. I overlapped these pieces so that the white of the canvas is not visible (a close-up in the picture above and the overall view with the pot in the first picture with the background).
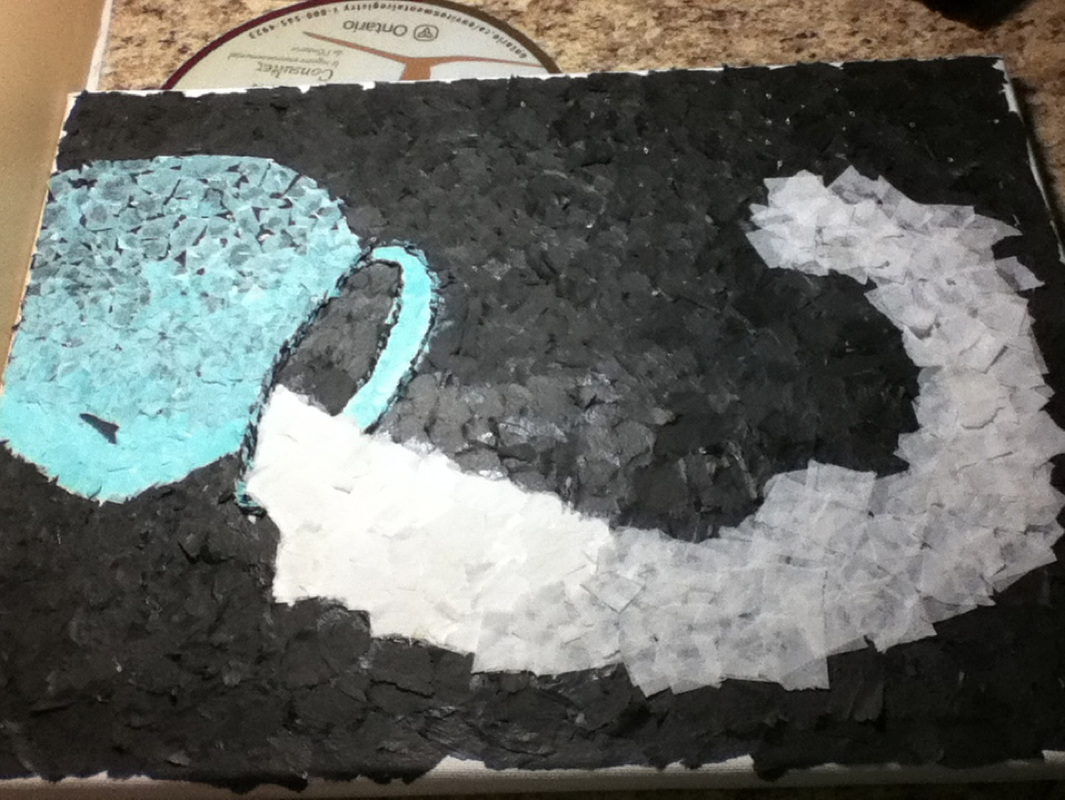
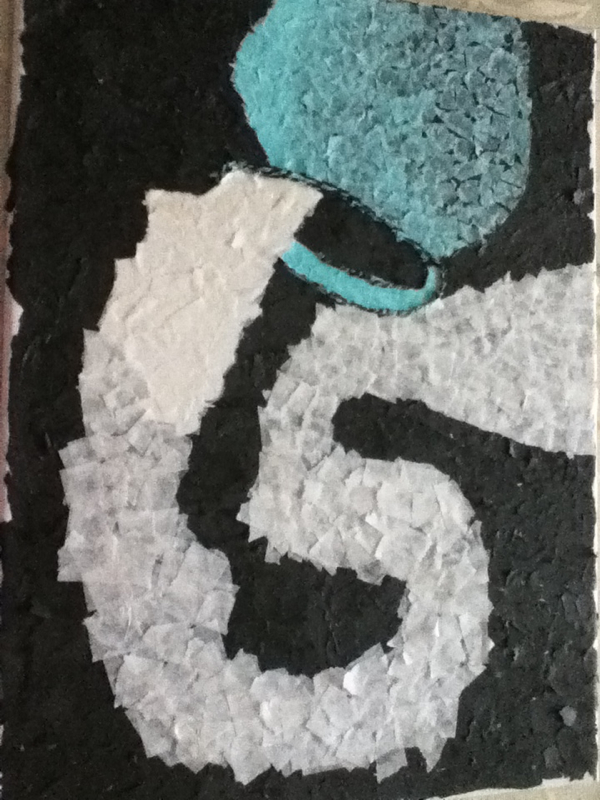
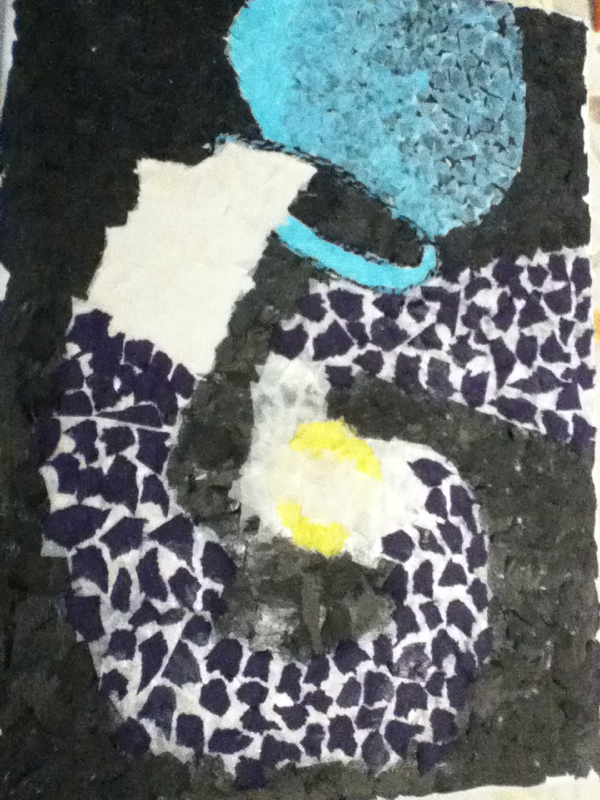
I have completed the background of the milky way and the milk pouring out of the vase. For the dark layer of milk that you see, I had to built up the layers with tissue paper, (I think there are at least 7 layers of tissue paper). The reason that i have to build up the layers is because the tissue paper is very thin and very transparent, and because of this, it becomes very easy to see the canvas below.
The actual milky way is the 2 layers of white tissue paper (this is lighter than the milk). As can be seen, it is very easy to differentiate between the milk and the galaxy.
***In the first picture I am halfway done the galaxy, whereas in the second picture I am completely done the galaxy and all that is left is to add the colorful paper, which will represent the stars.******
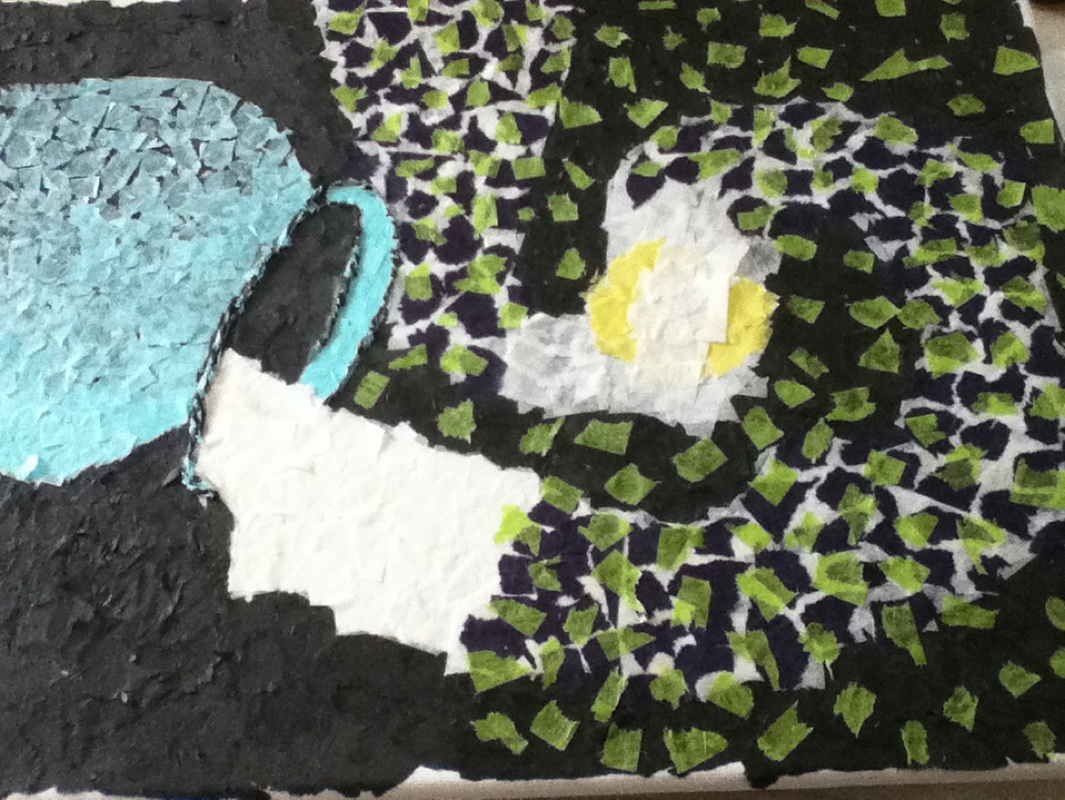
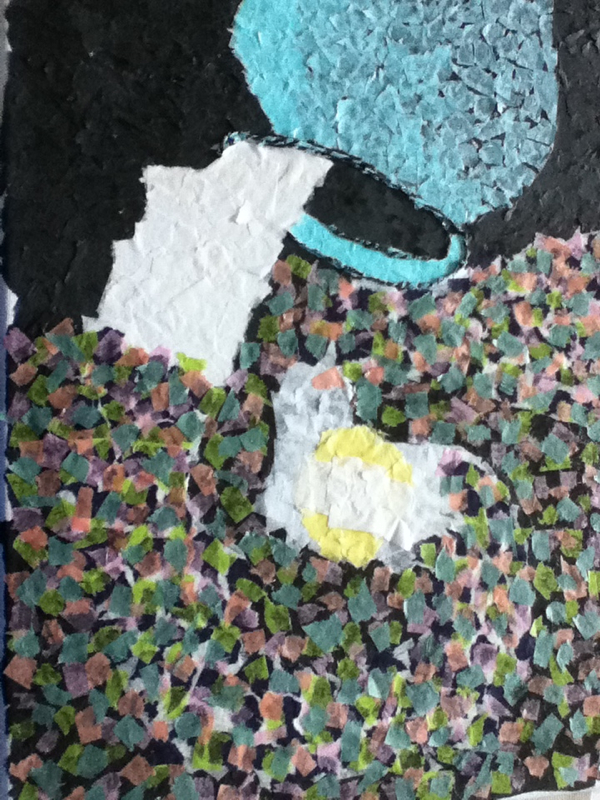
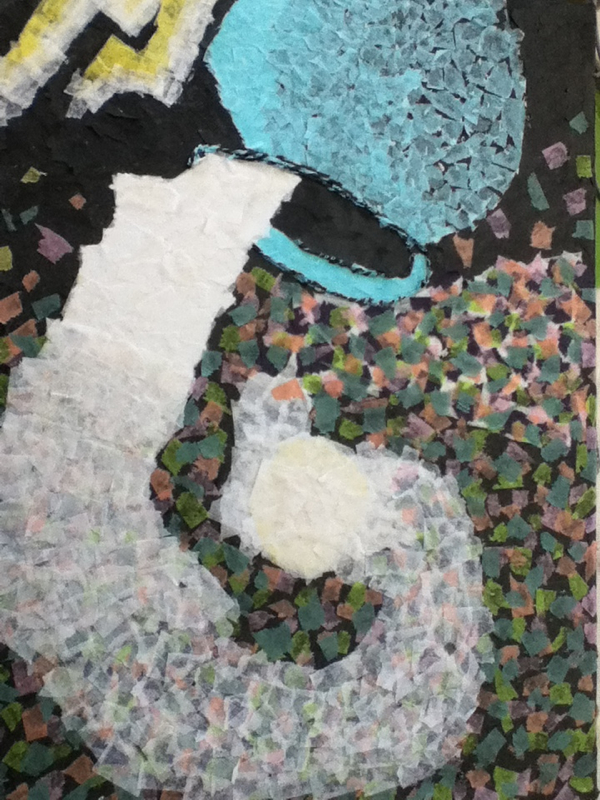
In this picture (the one above), I have added a navy blue color, and the middle (which is the yellow and white blob) represents the center of the galaxy. I really like the effect the navy blue has and I like how it contrasts with the white. I did not add it in the black background because I thought it would mix and it be hard to tell that the navy blue represents stars and broken elements. It really looks like mosaic here!
In the picture below, I have added green to the navy blue and added it in the background as well because it stands out on the black and makes it appear brighter.
In the picture below, I have added green to the navy blue and added it in the background as well because it stands out on the black and makes it appear brighter.
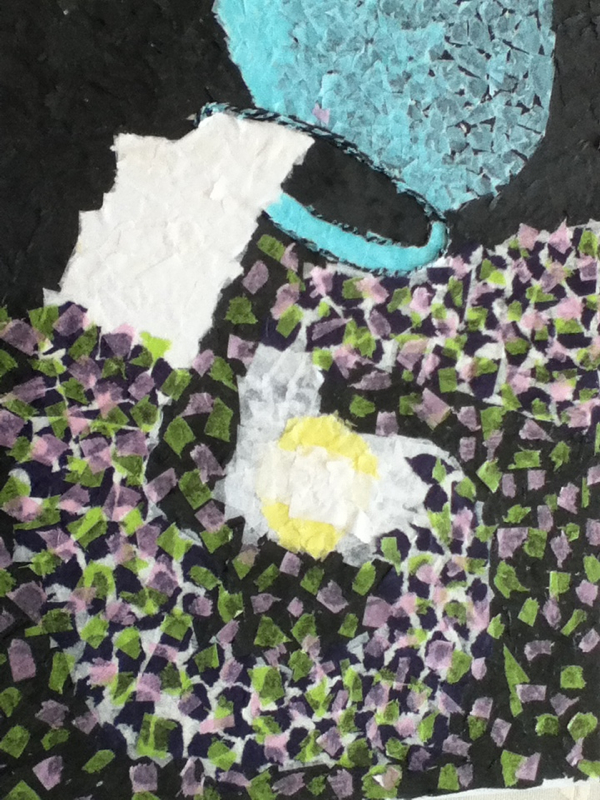
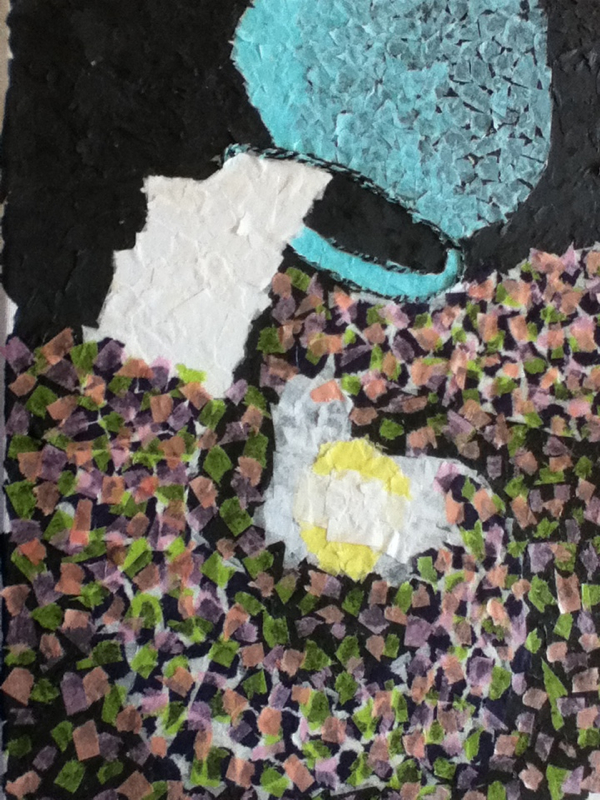
In the these three pictures I have added the colors, pink, salmon (or peach) and some sort of bluish-green. With all of the colors added it looks really full and I kind of like the effect it has. Since the colors are not really blended it creates sort of a mosaic effect.
I am almost done! All I have left is to put black and colored tissue paper on the sides of the canvas, the lightening bolts and to add more white to the galaxy.
I am almost done! All I have left is to put black and colored tissue paper on the sides of the canvas, the lightening bolts and to add more white to the galaxy.
This is the final piece! I added more white to blend in the milk more, i also added the lightening bolts on the side (this represent Zeus, he is God of the Sky and is often represented by lightening bolts, which also represent his power).
On the sides of the canvas I added black tissue paper (so to continue the galaxy), I also continued the pot and the lightening bolts, because I thought it would give it a more 3D look. In addition to adding the black tissue paper I also added the colored bits as well.
When completing a piece, one is so relieved to finally finish that they often do not realize how much work and effort went into the work. Seeing my progress through this blog made me realize how much work actually went into the artwork, it is amazing to see that just last week I had an empty canvas with nothing but a drawing but now it is filled with tissue paper (a medium I never thought I would use).
 RSS Feed
